Turn your spare laptop into a server?
Do you have a spare laptop at home? And wondering if it is just part of the trash at your home? I have very exciting 🥳 news 🗞️for you.

Introduction
Checkout the story about my experience with setting up spare laptop as a server and forwarding all traffic through a secure tunnel. This will going to be interesting if you have an interest in tech or self-hosting.
Do you have a spare laptop at home? And wondering if it is just part of the trash at your home? I have very exciting 🥳 news 🗞️for you.
Well, this is not a new thing for few people. But it can be way more exciting for some of you. Especially for those who always look into doing something playful with tech gadgets.
I got all this in my mind when I started using Ngrox. I was thinking can't I make ngrox like setup using my server so that I don't need to sacrifice my data and time.
Using NGROX or a similar platform for sharing your local port over the temporary URL. This can be very risky routing some private information through someone's server.
And saying goodbye to your privacy.

I am not denying the use of NGROX. When it comes to easy-to-do port forwarding.
NGROX comes with some limitations with its free version like:-
- Auto-refreshing the URL after a span of time.
- The random domain name and etc.,
If you have a premium then you can remove these limitations too.
I am not against NGROX or any other kind of such services which are really helpful for any beginner developer to start with minimal effort and easy to use setup.
Again just using NGROX, for example, only. I am not trying to blame/defame it and other similar services. It also helped me a lot in the beginner stage of my learning with simple to do port forwarding. Hence I still use it sometimes.
But again it is all about doing stuff using your own gadgets, learning new stuff, and respecting your privacy at the same time.
So let's talk about some great features of using the home server.
- Able to route your data from one cloud service provider to another in just minutes.
- If you do not want to use any cloud service provider then use it in your local network.
- Robust security.
- Encrypted transmission of data.
- Consistent connectivity.
You can also implement a kind of switch between the internet and local communication. But why right?
Switch which can help you disconnect your personal data from the internet. And also at the same time not disconnect it for use in the local network.
You might be thinking why should I waste my time doing setup for all these things? You can think of this in two ways.
- Always have complete control and access to your data.
- Change any cloud provider just connecting with the cloud provider's network.
Don't you want a kind of solution that might be a bit slow but cost-effective, secure, and reliable at the same time?
In case of cloud service provider goes down or due to some unforeseen reason it goes in a stopped state. Then you can directly access your data by connecting your device to the same network on which your home server is running otherwise just use your cloud service provider's IP to access it through anywhere in the world.
If I talk about slow it will be capable of providing speed around 100-200 Mbps or sometimes even more but at least 90-150 Mbps is stable according to my current experience.
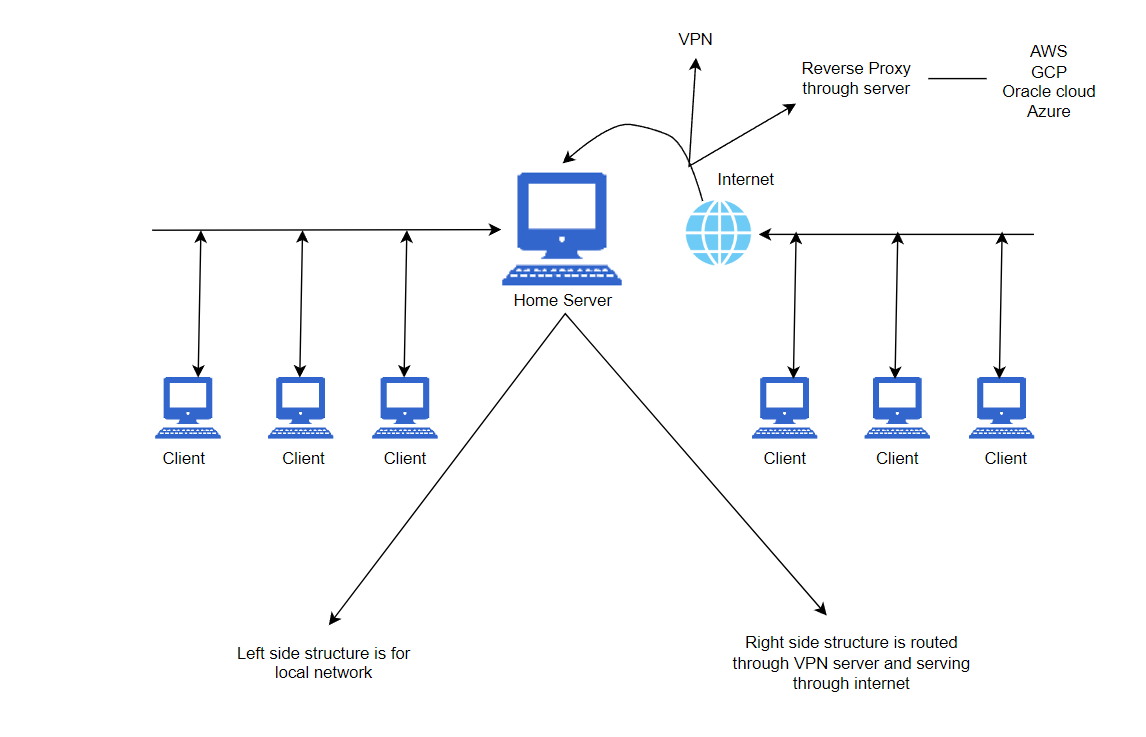
In the above diagram, VPN works as a switch to disconnect and connect your home server to the world.
Seems interesting? It is way more interesting than it seems. Continue reading this blog to know more.
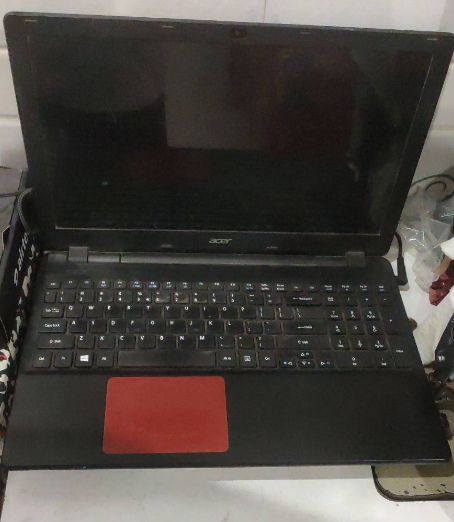
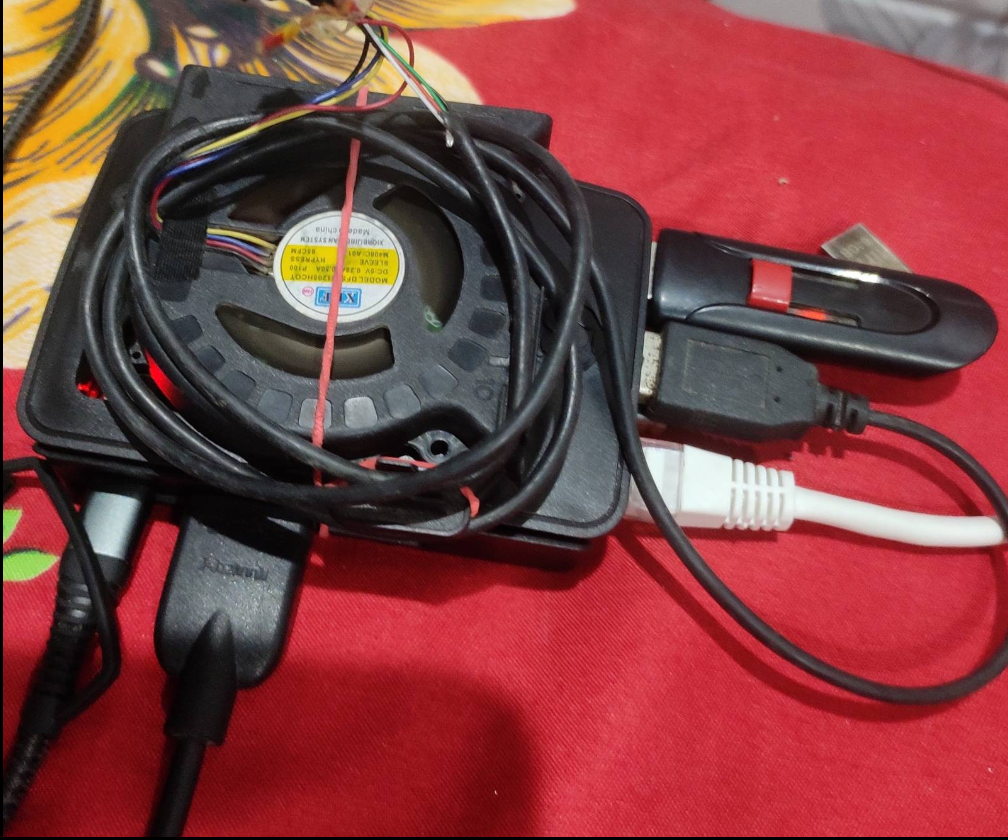
You can use your laptop or raspberry pi as a server. To host so much stuff and use the complete power of your laptop or any other kind of mini device which you don't use anymore.
You might be wondering why I need to set up a home server right? I have explained this in the story.️
Let's talk about how to setup.
Steps for setting up your home server
Step 1 - Select your cloud service provider (Only necessary in case you want to access your home server from anywhere )
Step 2 - After selecting a cloud service provider just follow the below guide to set up Wireguard VPN server on your cloud machine.
 Orendra Singh
We are installing VPN to secure and route data through an encrypted tunnel. At the same time, it connects your home server and the cloud provider's machine on the same network. So that they can communicate with each other. But how right?
If you connect through some VPN that means you are now routing all your data through the VPN provider's cloud. But in this case, we are a VPN provider because we are using a self-hosted solution.

So let's suppose you provide your wireguard server ip range 192.168.3.1 then all your devices will be connected as 192.168.3.2 like this and you will be able to ssh to your cloud PC using the local IP address assigned to it. In case you want to ssh to your home server then use the IP assigned by Wireguard.
Step 3 - Install any operating system on your spare device.
Recommended operating systems
Debian
Ubuntu
Or any linux based operating system
For just testing purpose you may also test it on windows too.
Step 4 - Install wireguard client and setup using this guide.
Orendra Singh
Your home server setup is ready.
Now from your home server try to ping the server running in the cloud using the IP assigned to your cloud server. Or you can do vice-versa ssh to the cloud and try a ping command to the home server IP address.
If you are successful in doing ping or ssh from any of the devices to the cloud or vice-versa. It means your setup is complete.
What next right?
You have done the setup but now need to forward the requests you are receiving to your cloud ip to your home server's IP. We can set it up using reverse proxy.
I will create another guide on how to set up reverse proxy but for now, you need to do some struggle in doing a search over the web and setup reverse proxy. If you face any issues then let me know in the comment section.
It's time to celebrate! And don't forget to check out the story behind doing this setup if interested.
Wait..
As we all know writing these kinds of useful blogs for you all takes so much effort, research, and time. So if you want to support me in any way that would be helpful for me. (Optional)
Here are a few ways you can support me.
- Share this blog on your social handles like - Twitter, Instagram, or LinkedIn.
- Subscribing to our newsletter.
- Suggest new ideas for creating blogs.
- Help in debugging issues.
- Support me using UPI. Paying any amount you want. That can help me purchase hardware required for new projects and do research - orendrasingh@dbs
- Or buy me a coffee - https://bmc.link/orendrasingh