SSD/NVMe or HDD Not Recognized During Windows Installation
Introduction
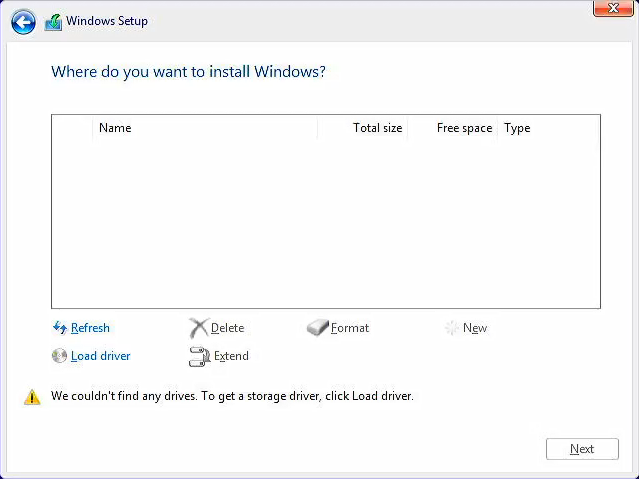
On systems with the 11th generation Core I processors (Tiger Lake platform), during a manual installation of Windows 10/11, you may find that a SATA hard disk/NVME/ SSD is not detected.
How I come across this issue?

A few days ago, I ran into this issue while installing Ubuntu on my friend's laptop.
He later mentioned wanting a dual boot setup, but by that time, I'd already installed Ubuntu using the entire disk. I tried splitting the disk to create partitions for both Windows and Ubuntu, but I couldn't see the partition I formatted in Ubuntu when trying to install Windows.
I tried everything—from using fdisk and gparted to marking the partition as MBR or a basic data partition for Windows, even setting it as a system partition—but nothing worked.
Then researching for a couple of hours I get to know this issue more on the driver's side with windows not an issue of partition table or type.
Solution
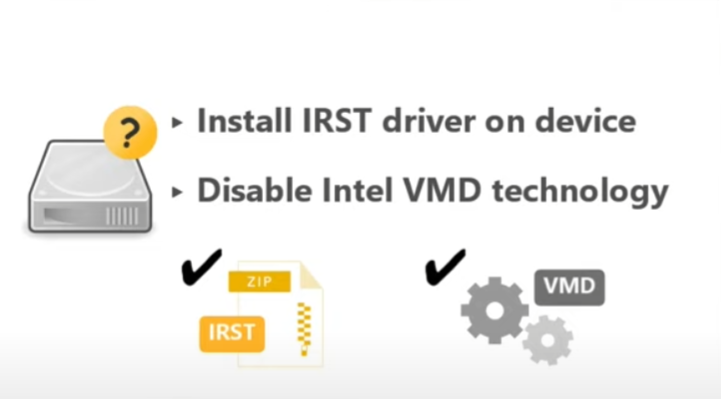
- Find the Intel IRST driver from your OEM's website under the drivers section.
- Get a pen drive to extract the zip file you just downloaded. (You may also try downloading the driver from the Acer website which I downloaded and fixed my issue. Link Select folder name with F6 during driver selection)
- Download extract
- Disable VMD from bios is available in your laptop's bios menu.
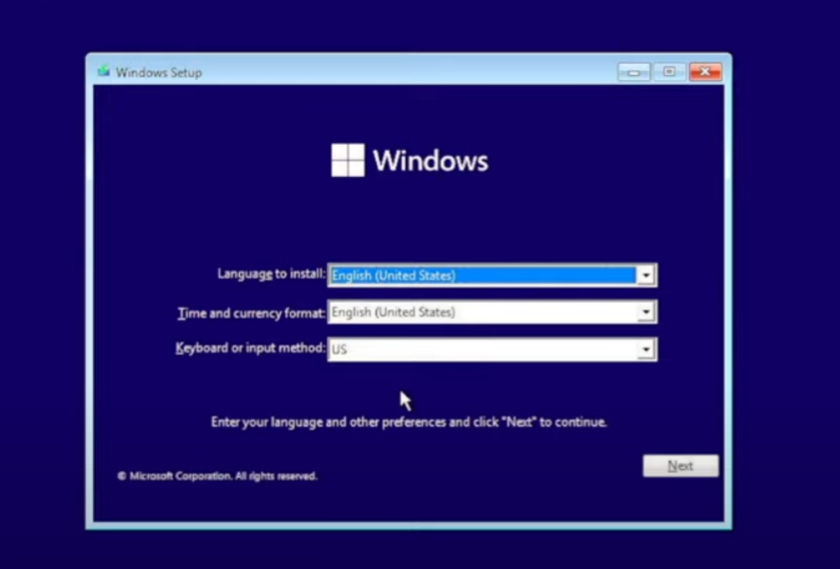
- Then start with the installation again for Windows.
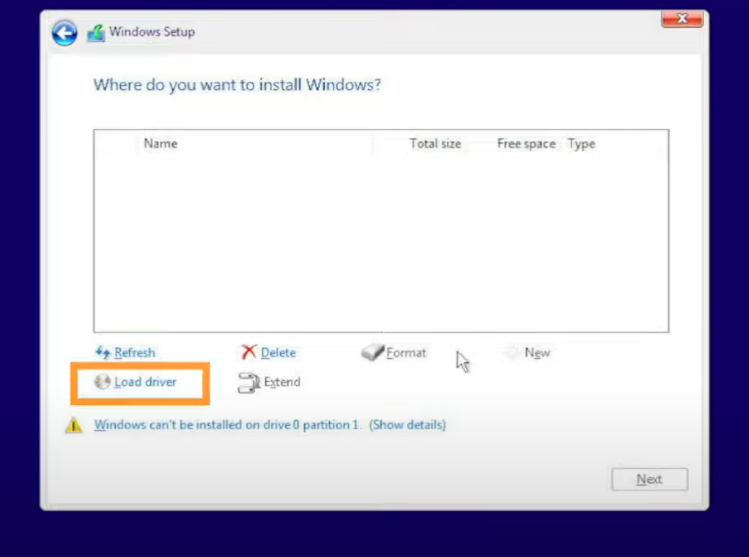
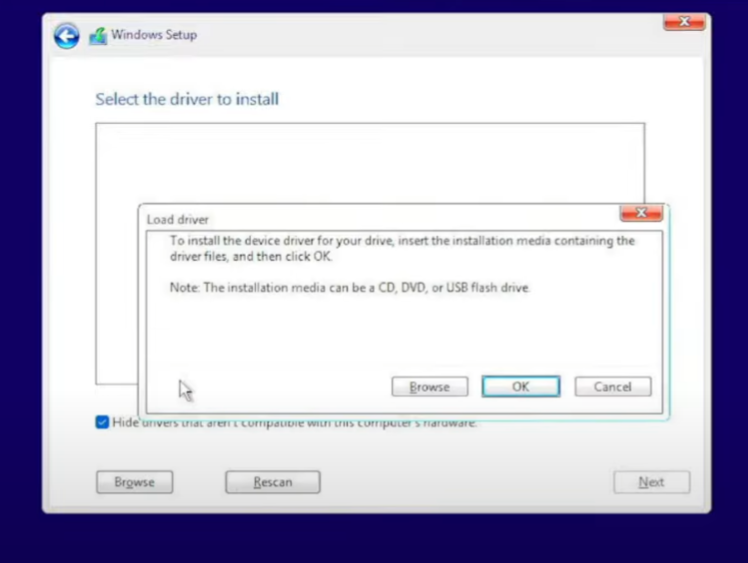
5. On this point where you don't see your drive listed click on load drivers
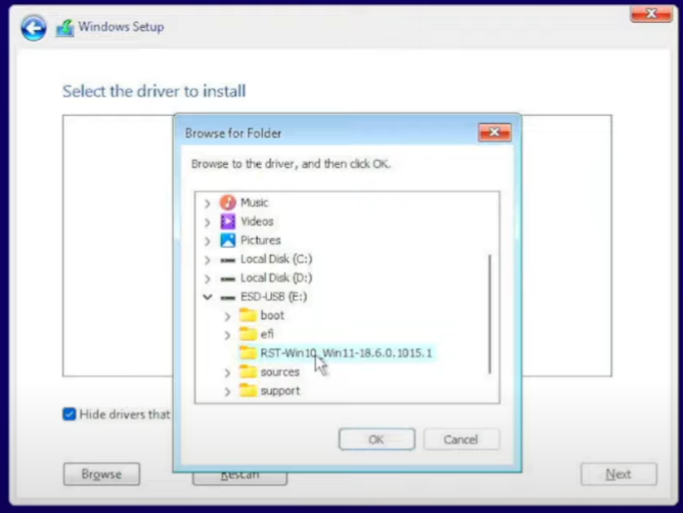
6. Click on browse.
7. Click on your external pen drive and select the folder with the drivers you extracted in step 2.
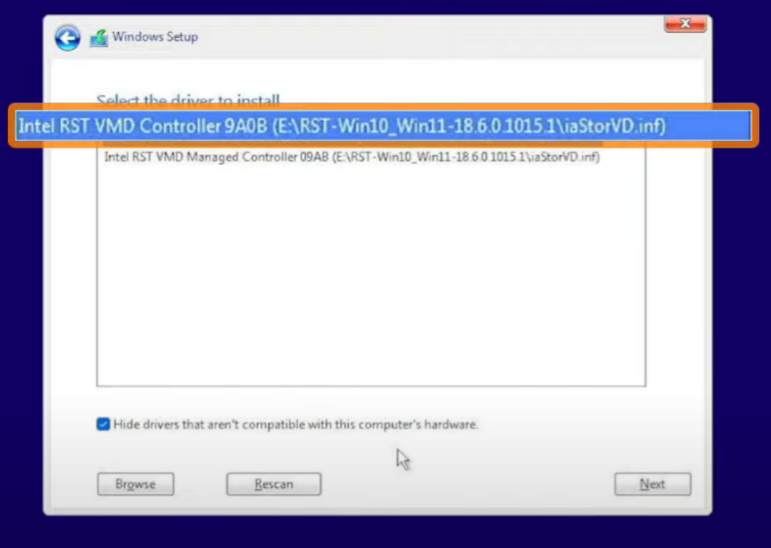
8. And then select the first one showing from the list.
9. Now let it install
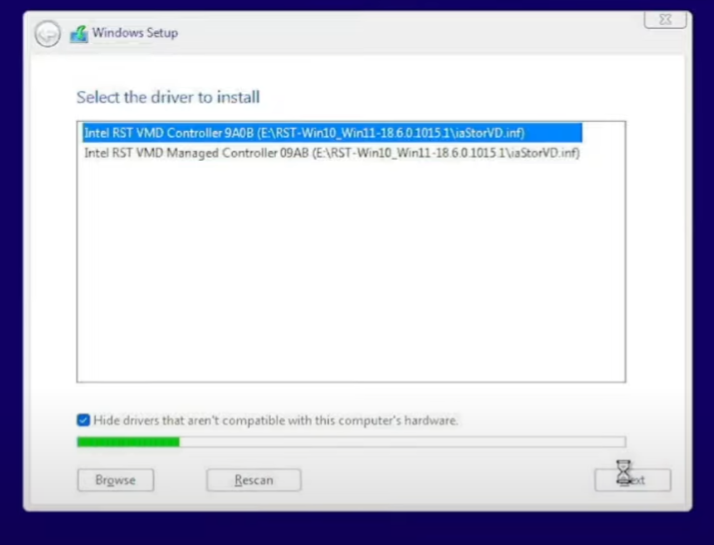
10. Once driver installation completes you will able to see all your partition which were not showing earlier.

Hurray, Now you may complete the installation.
You may also check this excellent video reference explaining the same process by Asus
https://www.asus.com/in/support/faq/1044458/
Thanks hope you enjoyed the blog.


